
I’ve been living with type 1 diabetes since 2005, and let me tell you—travelling with it has always been a nightmare.
A couple of years ago, I was fortunate enough to get on the Assistive Devices Program (ADP), which gave me access to the Medtronic 780G insulin pump and a closed-loop CGM (Continuous Glucose Monitor) system. And to be clear: this isn’t a rant about the technology. I genuinely love this pump and the sensors. They’ve made a huge difference in my health and daily diabetes management.
But even with all the tech upgrades, traveling still comes with a mountain of challenges.
When you’re diabetic, packing isn’t just about clothes and toiletries. I have to make sure I bring enough medical supplies for the entire trip—and then pack extras in case something goes wrong. Oh, and I also need backup backups in case my pump or sensors decide to stop cooperating.
So when you’re heading out on a 23-day trip to Japan? That’s a lot of supplies. It’s basically a whole suitcase just for diabetes management.
My diabetes packing list
Before diving into the details, here’s a complete list of everything I need to pack for this trip. As a certified spreadsheet nerd (here, here, here, and here), I built a Google Sheet that lets me plug in my travel dates—it then automatically calculates the number of diabetes supplies I’ll need for the full duration. It even helps estimate the extra supplies I might need in case something goes wrong.
Just a reminder: I always pack more than the bare minimum, because when you rely on tech like pumps and sensors, you have to plan for potential failures.
Important disclaimer: This is just my starting point. I always review the list carefully before I pack, double-checking to make sure I’ve got everything I need—and then some.
Pump-Specific Supplies (for a 23-day trip)
- Insulin pump (x1)
Note: As of writing, Medtronic does not provide backup travel pumps. - Infusion sets with tubing (x9)
- Reservoirs (x9)
- Sensors (x5)
- Sensor applicator (x1)
- Sensor charger (x1)
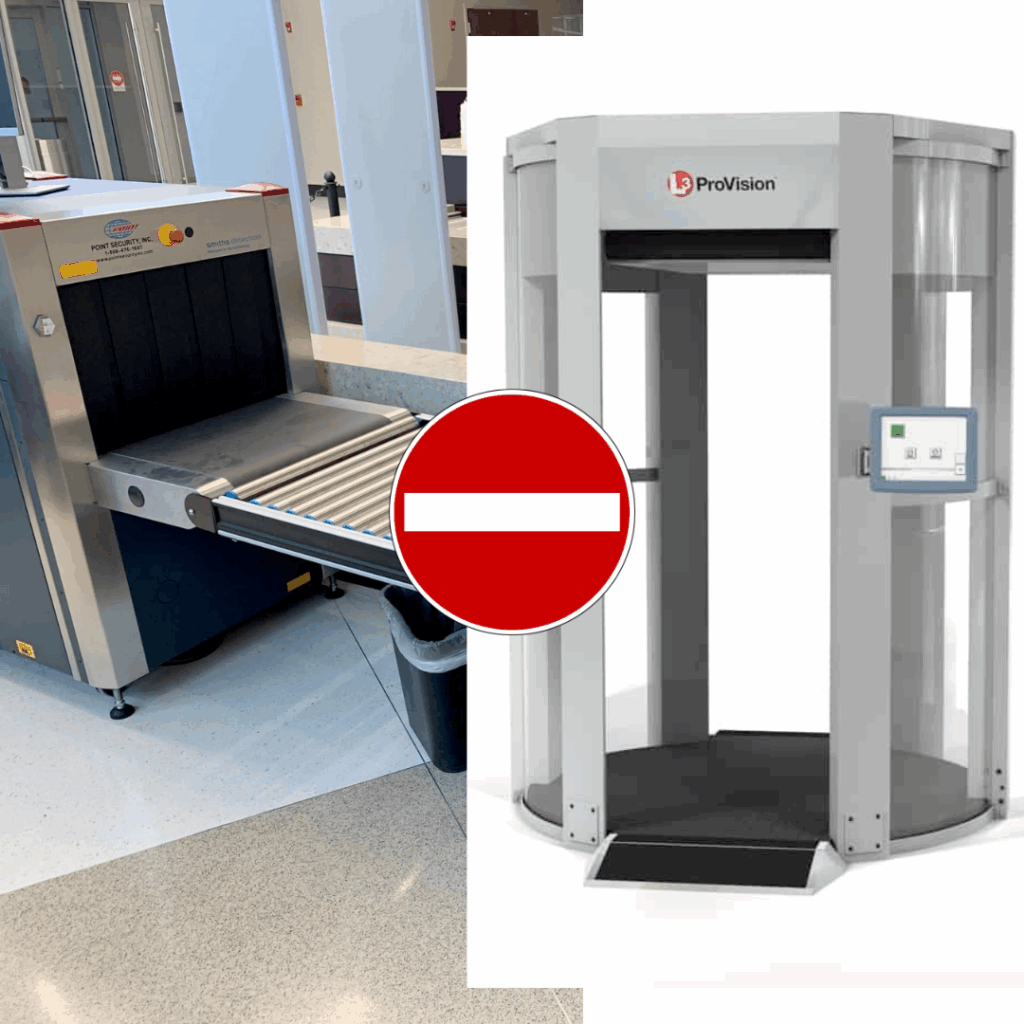
✈️ Heads-up: Most of these items can’t go through the airport belt scanner or full-body scanner. Make sure to request a pat-down or visual inspection at security.
General Diabetes Supplies
- Insulin vials (x3)
- Blood glucose monitor (x1)
- Backup glucose monitor (x1) – just in case the first one fails
- Toujeo pens (long-acting insulin) (x3)
- Novorapid pens (fast-acting insulin) (x3)
- Needle tips for pens (x30)
- (Ideally, I’d bring more—but I can make do with this in a pinch.)
- Glucagon
- Blood glucose test strips (x2 boxes—maybe 3 for peace of mind, since they are very small)
- Extra AA lithium batteries (x4) – for the pump
- Extra AAA alkaline batteries (x4) – for the sensor charger
- Extra CR2032 lithium batteries – for the glucose meter
- Alcohol swabs (x30) – I can get extra in Japan
- Extra adhesive bandages (x5) – for sensor coverage
- Sharps container (x1) – for disposing of sharp supplies (needles, strips, etc.) Spoiler, I’m using a medium sized pill bottle.
Additional Medical Supplies (non-diabetes, but in the same kit)
- Levothyroxine
- Tylenol
- Claritin (loratadine)
Phew—yeah, that’s a lot of stuff. But just remember, I’m packing extra on purpose. When you’re more than 10,000 kilometers from home, in a country where you don’t speak the language, being overprepared is essential.
The catch? All of these diabetes supplies need to come with me on the plane. That means they have to fit in my personal carry-on. Not checked luggage. I bring with me a medical note that is signed by my doctor.
That’s a packing puzzle I’ve had to solve more than once—Tetris, but with medical gear (thank god I love Tetris).
So… how do I manage all of this?
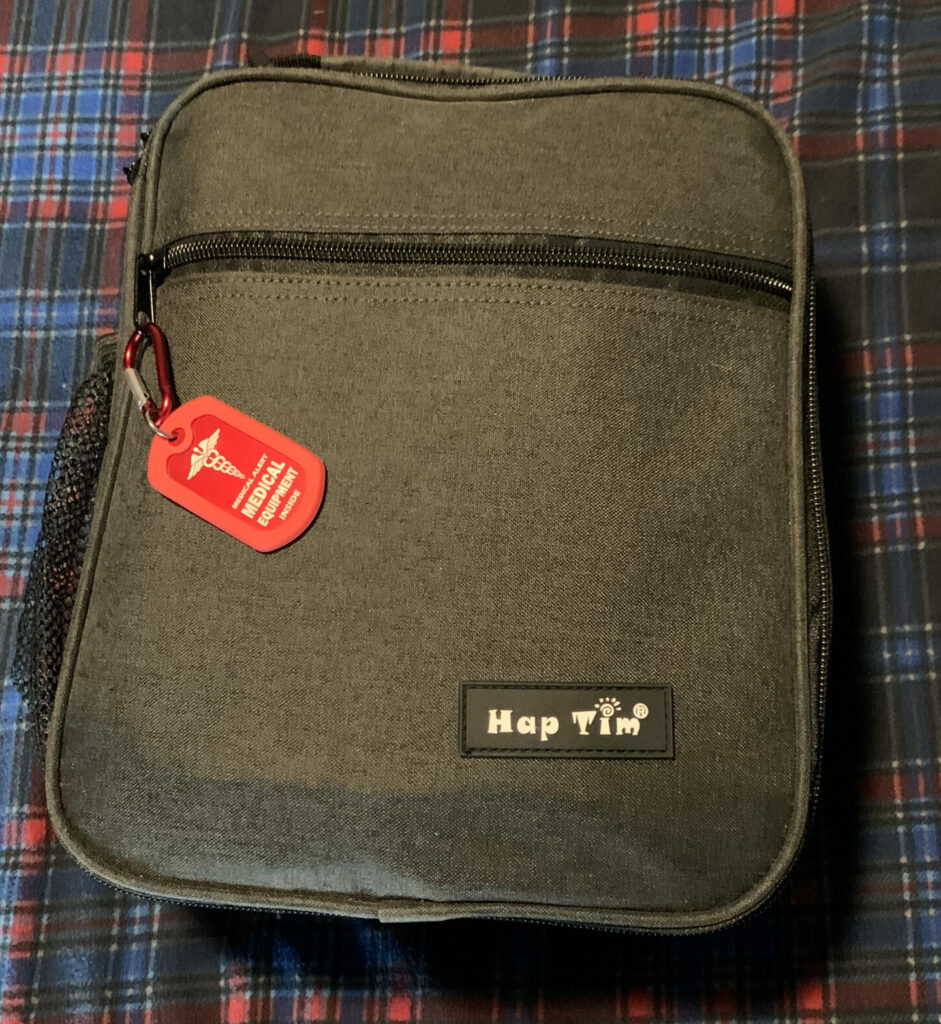
Simple: I bought a lunch bag.
Yep, a humble lunch bag turned out to be the perfect solution. It serves two key purposes:
- Protection – The padded sides give my diabetes supplies a bit of extra cushion, which is great for bumpy travel days.
- Insulation – It keeps a cooling agent stable so I can safely store my insulin while in transit.
To make things easy at airport security, I also added a medical ID tag to the bag. That way, it’s clearly marked as containing essential medical supplies. You can see this tag on my bag below.
Below are two photos:
📸 Photo 1: Everything laid out on the bed, pre-packed.
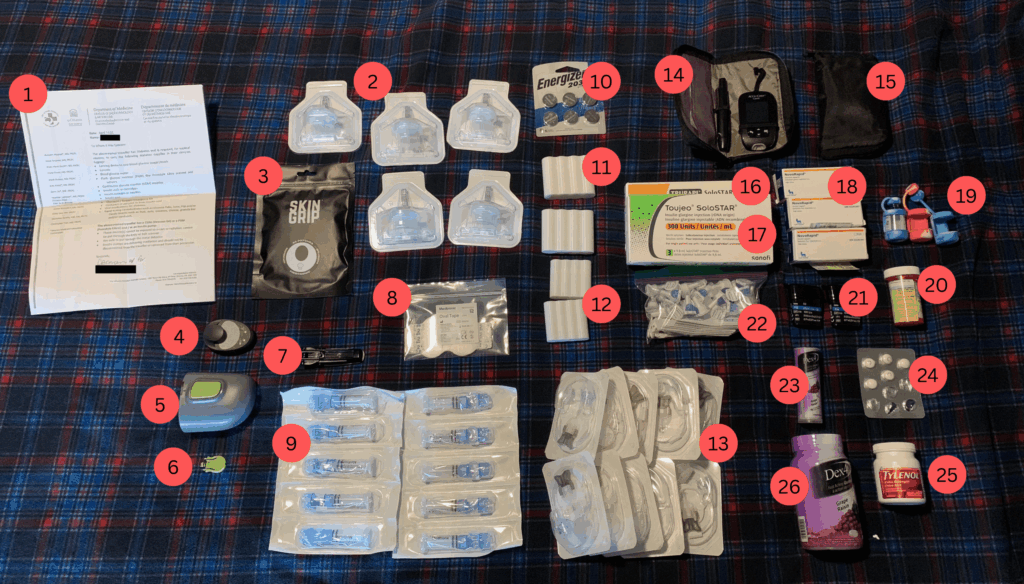
What are these things? 1. travel/medical notes, 2. CGM sensors, 3. arm bandages, 4. CGM sensor charger, 5. sensor applicator, 6. sensor calibrator, 7. extra belt clip for pump, 8. sensor covers, 9. pump reservoirs, 10. glucometer batteries, 11. AA batteries (with case), 12. AAA batteries (with case), 13. pump infusion sets, 14. extra glucometer, 15. primary glucometer, 16. fast acting insulin pens, 17. long acting insulin pens, 18. fast acting insulin (for pump), 19. insulin vial covers, 20. Lyvothyroxin, 21. bg test strips, 22. various needle tips (for the pens), bg lancets, and alcohol swabs, 23. sugar tablets, 24. Claritin, 25. Tylenol, 26. sugar tablets (extra going in check-in bag).
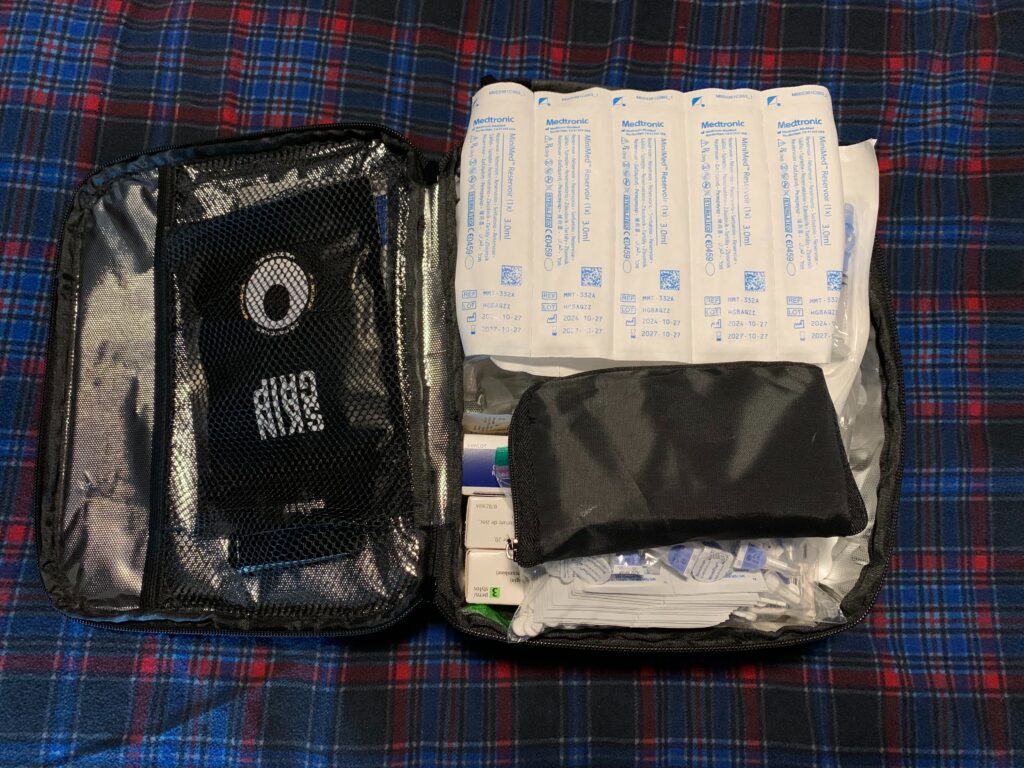
📸 Photo 2 & 3: All neatly packed into the lunch bag. Like magic.
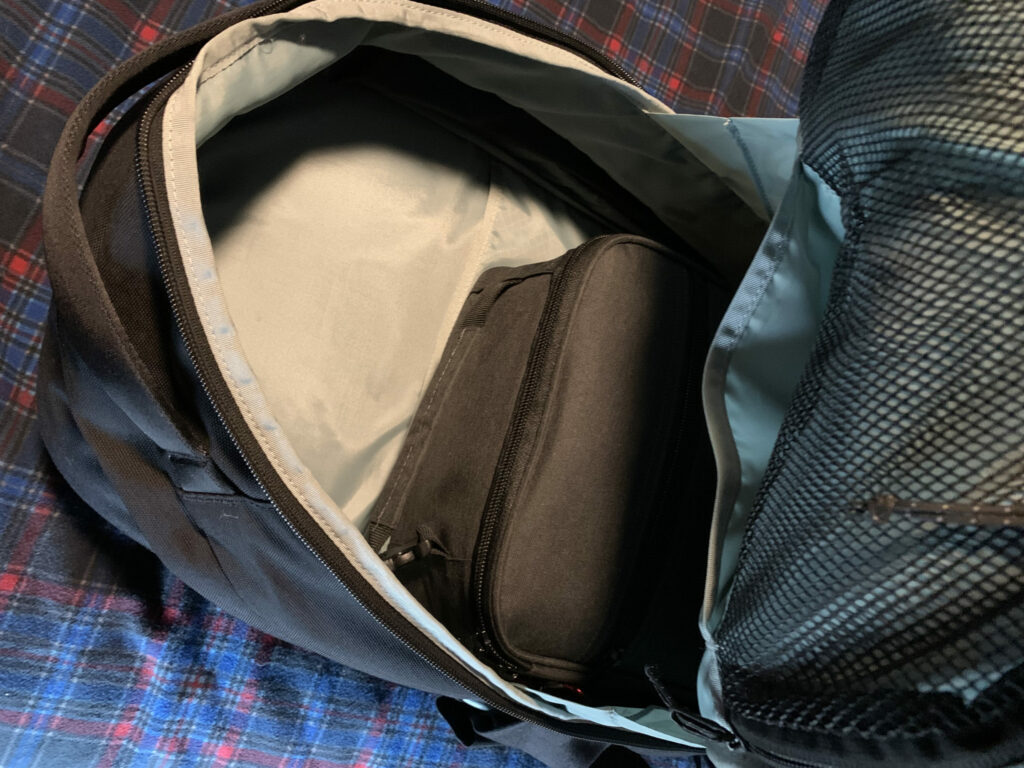
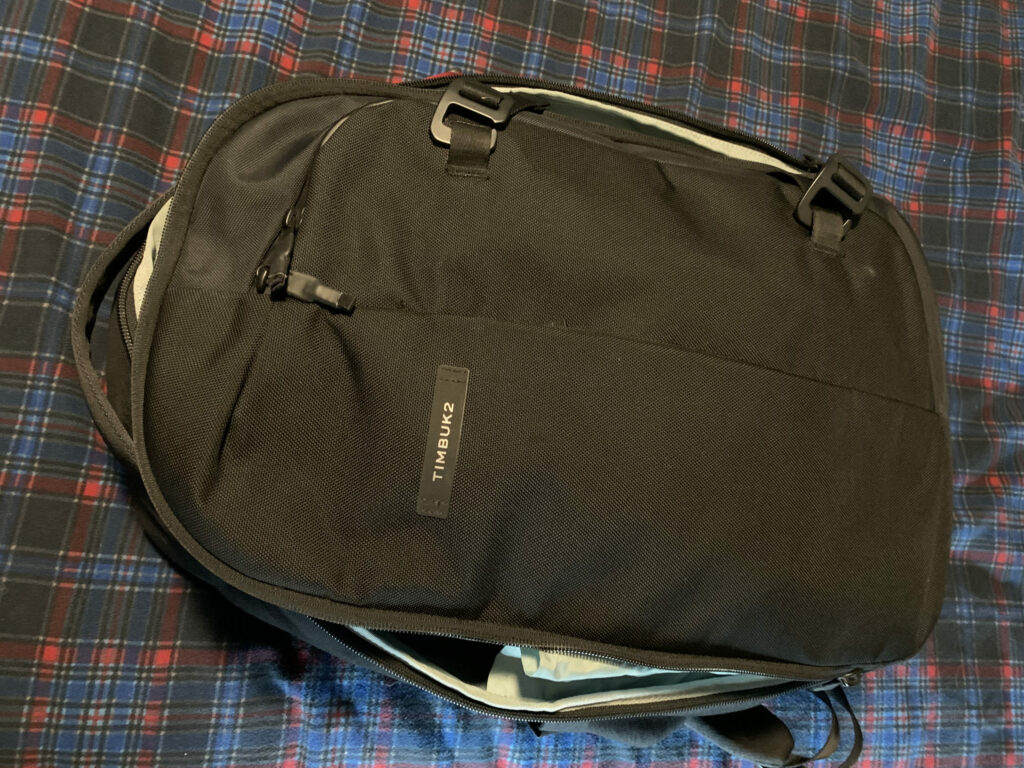
A few years ago, I also invested in the Timbuk2 Never Check Expandable Backpack, which I use as my personal item when flying. It’s been a game-changer. Not only does it fit the lunch bag snugly, but it also expands just enough to include my electronics—like my iPad, travel router, and camera (a.k.a. the stuff I absolutely don’t want tossed into checked baggage).
📸 Photo 4 & 5: The lunch bag placed in my Timbuk2, with the expanded space this bag fits the lunch bag nicely. There is still enough room to include my iPad, electronics bag (wires, chargers, AirFly Pro, etc.), my travel router, my Retroid Pocket 5, and my Osmo Pocket 3. Jeez, that is a lot of stuff.
What is essential?
At the end of the day, most other travel essentials can be replaced or picked up in Japan. Forgot a t-shirt? Buy one. Need a warmer jacket? There’s a Uniqlo on practically every corner. It might be a bit inconvenient, sure—but it’s not life or death.
What is essential? Just three things:
- Passport
- Medical supplies
- Financial access (bank and credit cards)
Everything else is negotiable.
Yes, my pack is full. Yes, it’s heavier than I’d like. But most of that bulk comes from one small-but-mighty 4.5” x 9” x 10.43” lunch bag. The joys of traveling with diabetes—it’s not glamorous, but it keeps me going.
Final thoughts
Is it overkill? Maybe. Is it necessary? Absolutely. Traveling with diabetes means packing like you’re ready to open a mobile clinic… but hey, better safe than explaining infusion sets in broken Japanese at 3 a.m. Thanks for reading, and if you’re heading out on your own adventure—happy travels, and may your blood sugar stay in range!
Note: Remember to follow Government of Canada travel advice and advisories as well as the Japan regulations for medication before traveling!
Header photo by Taylor Beach on Unsplash